Access
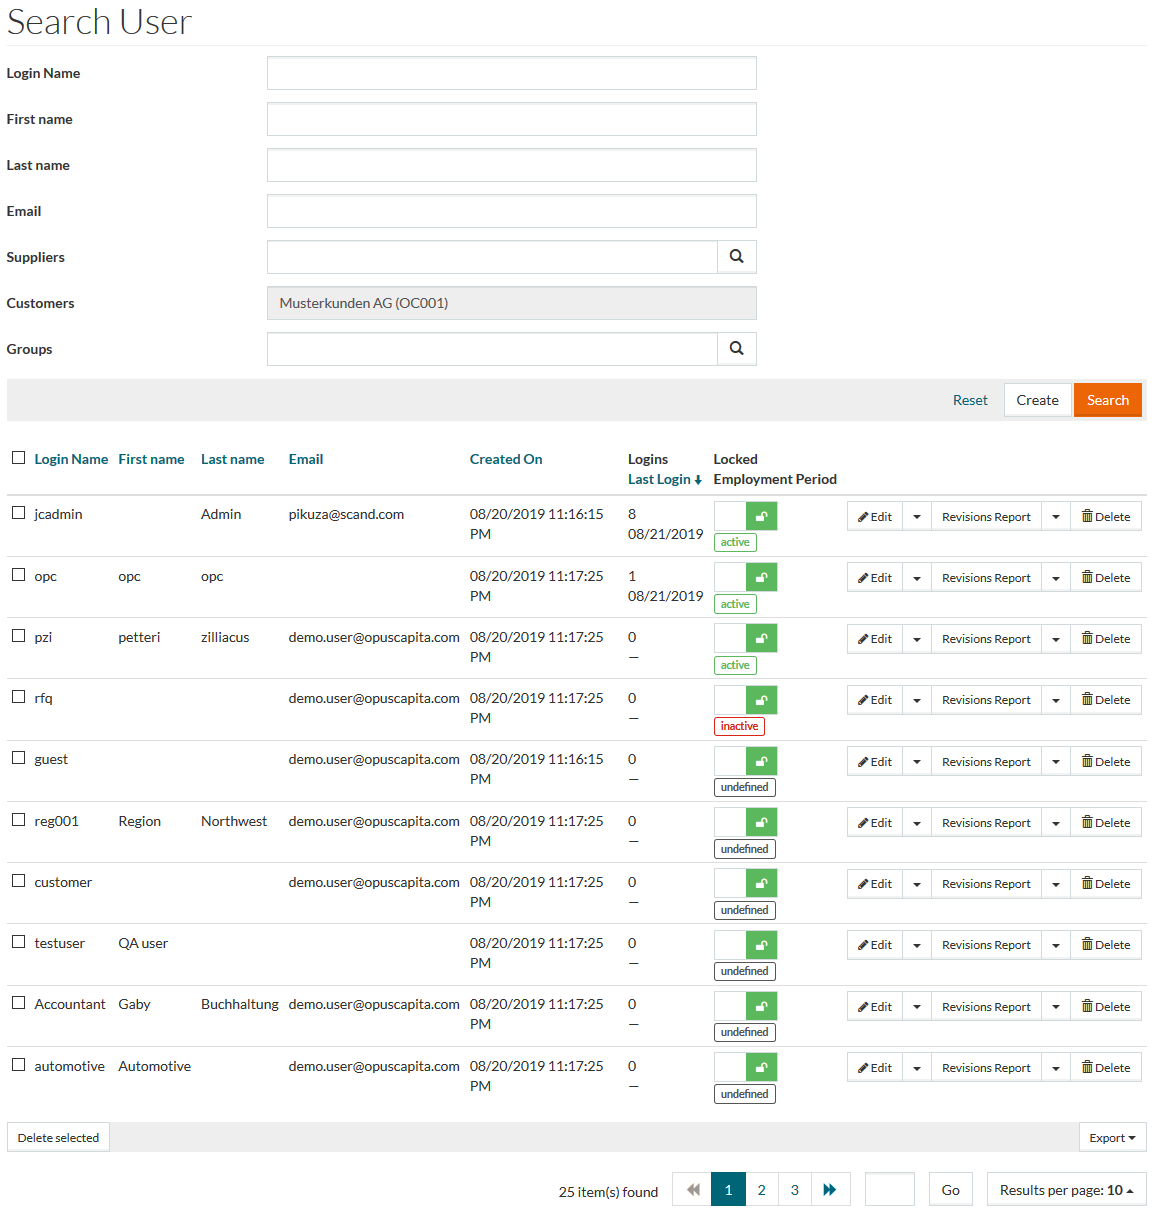
To open and access the User Editor, in the Provisioning Manager, click the User and Role Administration menu - > the User menu item.
Contents
Overview
In computer security, a login (also called logging in or on and signing in or on) is the process by which access to a computer system is controlled by identifying and authenticating the user referring to credentials presented by the user.
A login generally requires a login name or Username and a Password.
The Username is a string (i.e. sequence of characters) that uniquely identifies a User. Login names (or User names) can be the same as or related to the real names of Users, or they can be completely arbitrary.
A password is an unspaced sequence of characters known only to the User. It is used to prove the identity of the user, requesting access to the system.
See the Basic Actions page for more info on standard actions (search, sort, edit, delete etc.).
Create User
To add/create a new user, click the Create button, which opens the General tab of the user editor.
General

Enter details for
Login Name,
New Password (these are mandatory fields) and
Confirm New Password.
It is possible to define password validation rules, which are applied when setting or changing passwords on
Create User/Edit User and
Change Password pages. The password configuration file,
passwordConfig.groovy, can be found in
/integration/userPassword/ folder in Customization Area.
Enter a unique Login Name as the application does not allow duplicate data.
Enter data for the other parameters, if required. Use the drop-down menu to select the user's Language. To select Active Employment Period and Contracted Employment Period, click on the respective date fields.
In the opened calendar, click on the month in the header to open the selection of a month. Then click on the year in the calendar header to open the selection of a year, if needed.
If required, click
 to assign permissions, for the following fields:
- Change password at next login - select to force the user to change password at next login.
- May Change to any Supplier and May Change to any Customer - select to allow the user to change supplier/customer assignments.
These check boxes can be edited only by the user with SysAdmin role.
- Info Server - select to allow the user to access the server.
Click the Save button to save a new user, Save and New to save and create a new address or Cancel to cancel and return to Search user page.
Upon clicking the Save button, other tabs namely Personal Info, Roles, Groups, Customers and Suppliers, Buying Organizations and Grantable Roles become available.
Personal Info
In the Personal Info tab, you can enter the information regarding user's Birthday, Email, Fax etc.
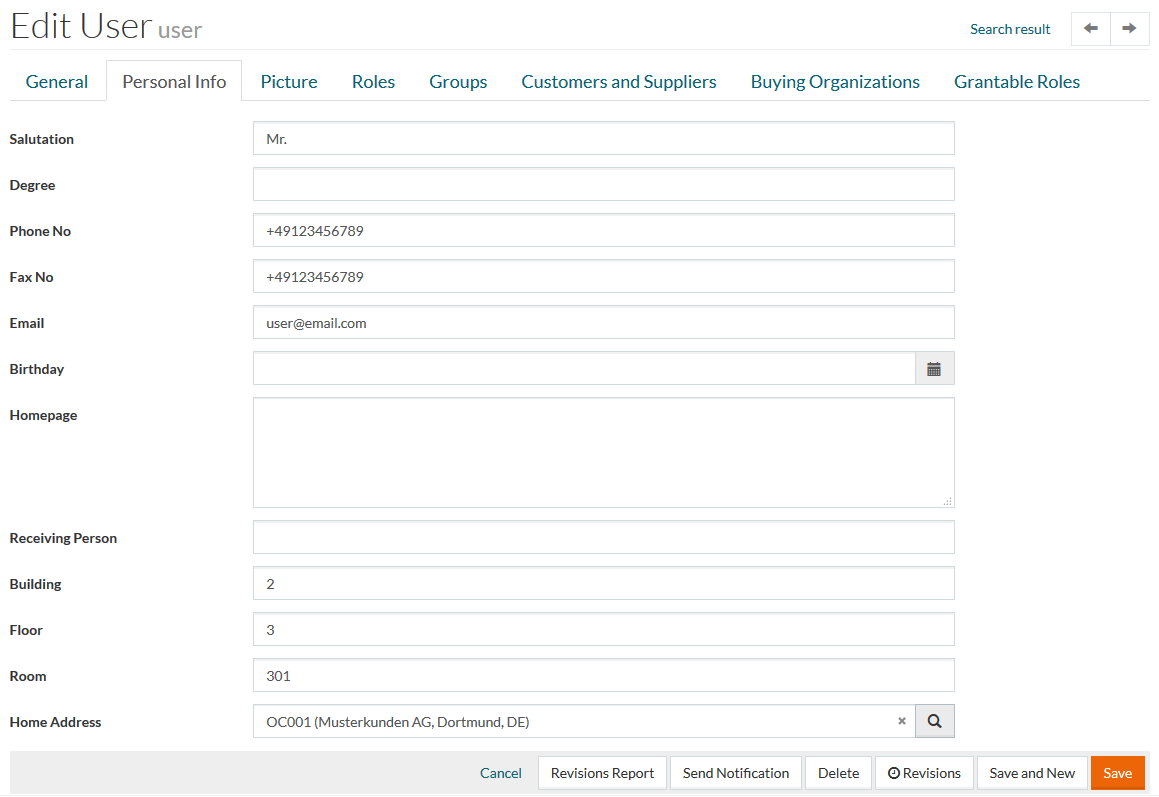
The information entered on the Personal Info tab ( Receiving Person, Building, Floor, Room) will be populated into the Recipient section of the OPC Order Page in case OPC operates in Procurement mode.
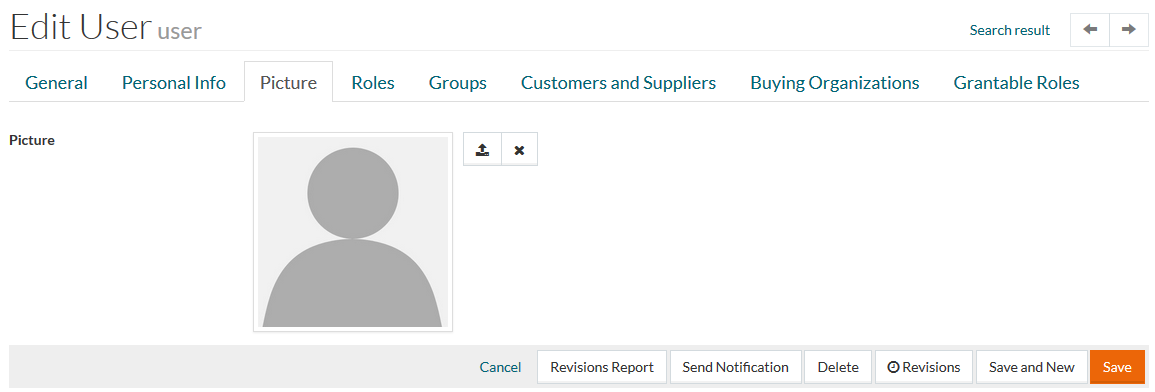
Picture
Picture tab is designed to manage a user profile picture.
You can manage your profile picture on the User Profile page as well.
Only files in JPEG (.jpg) format can be uploaded as profile pictures.
Click
![]() to upload the profile picture from your PC.
to upload the profile picture from your PC.
Select an area of the picture to be shown as your avatar and click the Crop button.
The uploaded profile picture is stored in the Work Area in /users/<user id>/ folder.
Click the Save button, to save the changes.
The picture will appear on the user menu.
To remove the uploaded picture, click
![]() .
.
Roles
Roles tab is designed to manage roles assignments.
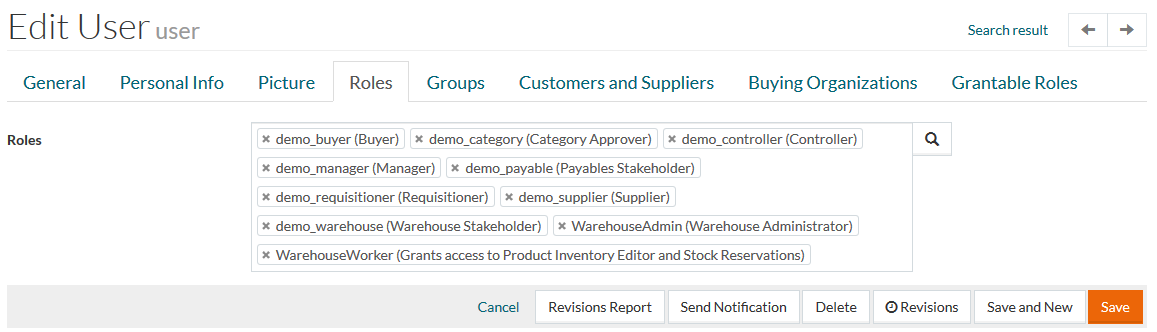
Click the Search icon to open a reference search for Roles in a new window and select the relevant roles; or use available auto-complete function to add the role to your selection.
Click the Cross icon in the role entry to delete it from the list.
Groups
Groups tab is designed to manage groups assignments. A user can be a member of various groups.
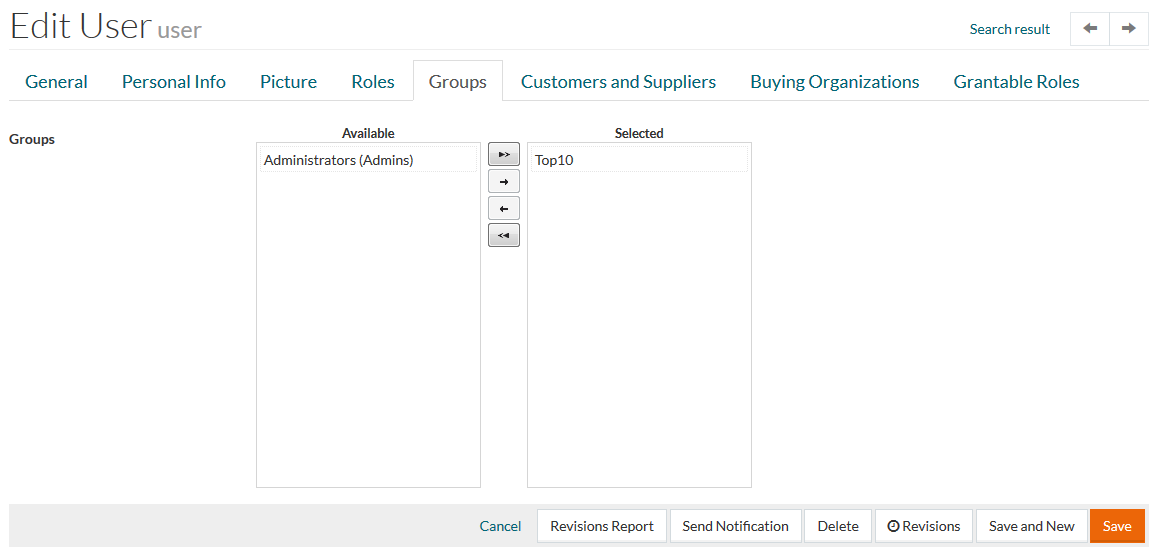
Click
 to assign role to the user. Click
 to revoke and move it back to the left pane of the section. Multiple selection and assignments are possible.
Click
 /
/
 to assign/unassign ALL entries.
Customers and Suppliers
It is mandatory to assign a customer to a user, otherwise the user cannot access any product information of that customer. If required, assign a supplier to a user, however, it is not essential to do so.
There is no need to provide customers and/or suppliers for assignment, when May Change to any Supplier and May Change to any Customer check boxes were selected for the user in the User Editor.
In this case the user will be able to change the assignment to any customer/supplier available in the system.
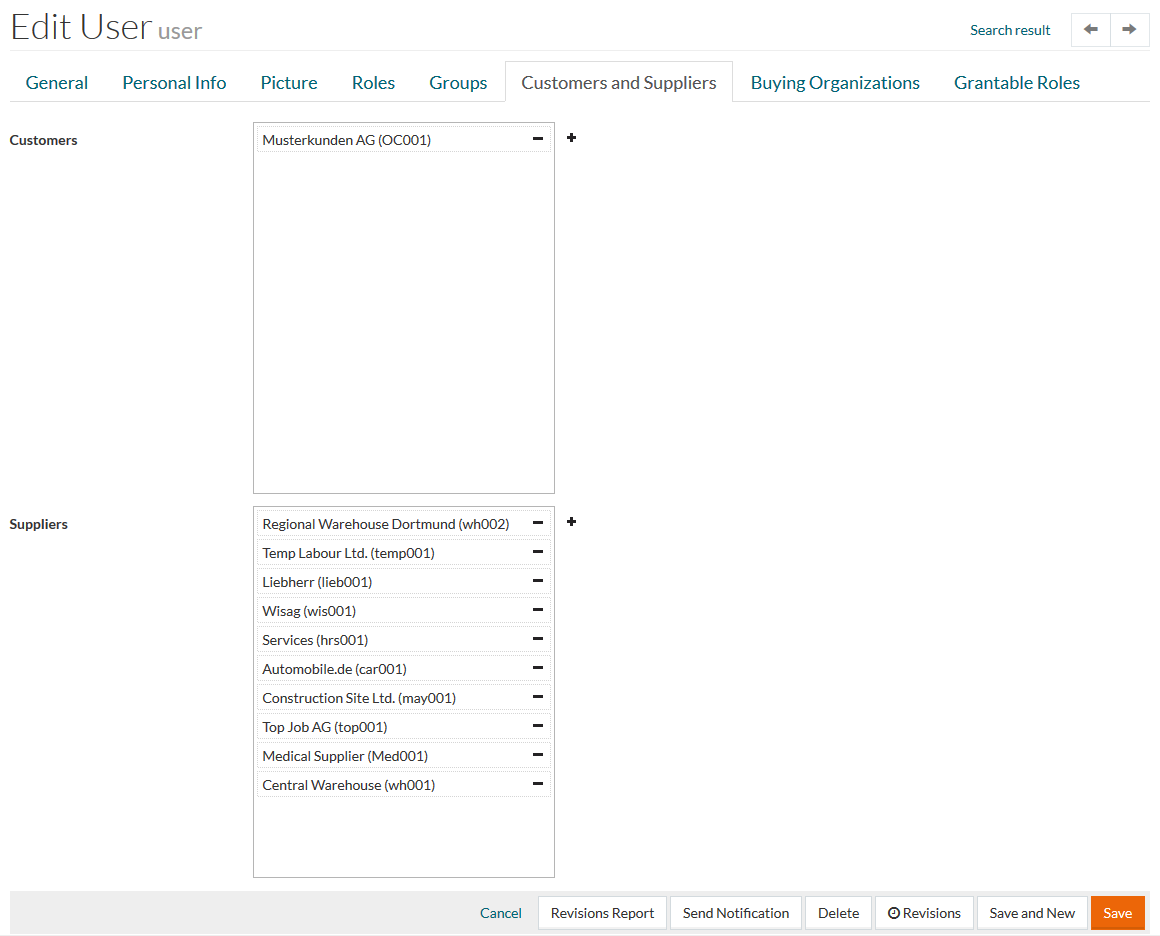
Click
 to assign a supplier/customer to the user. Click
 to revoke the assignment.
The list of available suppliers and customers for assignment is limited by the Supplier/Customer assignments of the user who creates/edits the current user info.
It means that the user who does not have a specific Customer/Supplier listed in their assignments, will not be able to add or delete such a Customer/Supplier assignment for some other user.
Buying Organizations
Use this section to assign buying organizations to a user.
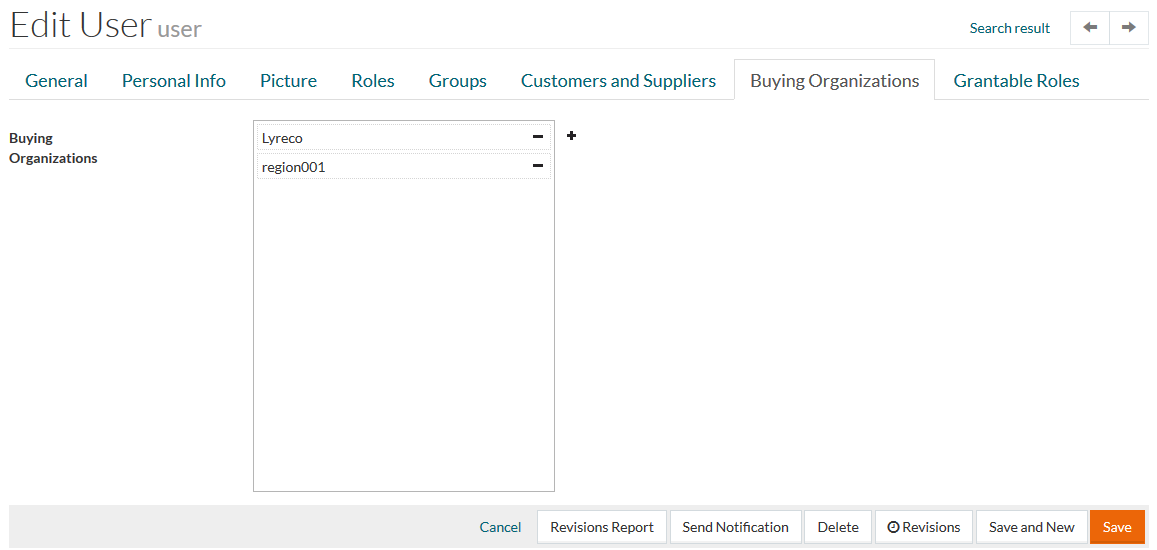
Click
to select the available Buying Organizations and assign them to the user. Click
to revoke the assignment.
The following Buying Organizations are available for assignment:
- buying organizations of the customers assigned to the user
- buying organizations of the parent customers of the customers assigned to the user
Only the user who can be assigned to customers of the relevant buying organizations may manage the Buying Organizations assignments for other users.
Grantable Roles
There are two types of roles in PROV:
- Executable - the roles, that user actually possesses. They are managed on the Roles tab.
- Grantable - the roles user can grant to the other users, without possessing the roles themselves.
In this section you will be able to manage a list of the roles, which the user will be able to grant to the other users.
Grantable Roles tab (viewing and editing) is available only for users with a
SysAdmin role.
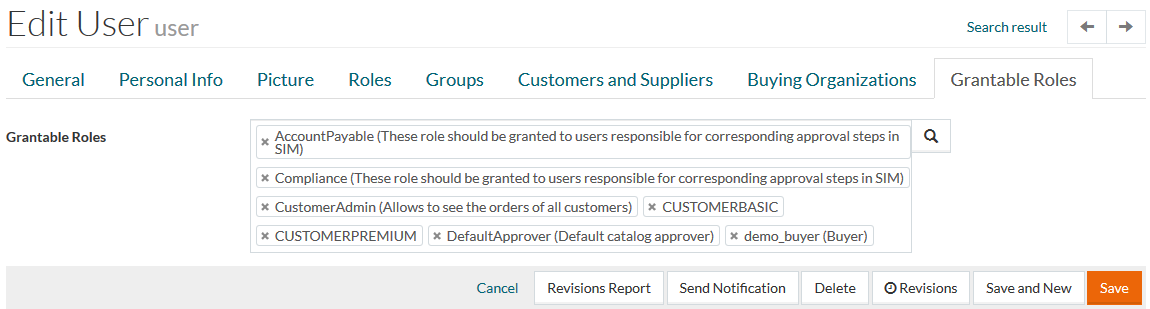
Click the Search icon to open a reference search for Roles in a new window and select the relevant roles; or use available auto-complete function to add the role to your selection.
Click the Cross icon in the role entry to delete it from the list.
After all the changes are made, click the
Save button to save new user or
 to cancel.
Lock/Unlock User
The System Administrator may sometimes lock users due to security reasons and the locked user cannot access the application. Sometimes, users forget the password and make multiple attempts to login with the wrong password and get locked out.
Click
 /
/
 to lock or unlock the account respectively.
A user, whose Active Employment Period is expired, is automatically locked. The employment status is displayed in the label below the Lock switch.
Revisions
To get the list of user revisions, select Revisions from the Edit drop-down menu on the Search User page or click the Revisions button on the Edit user page.
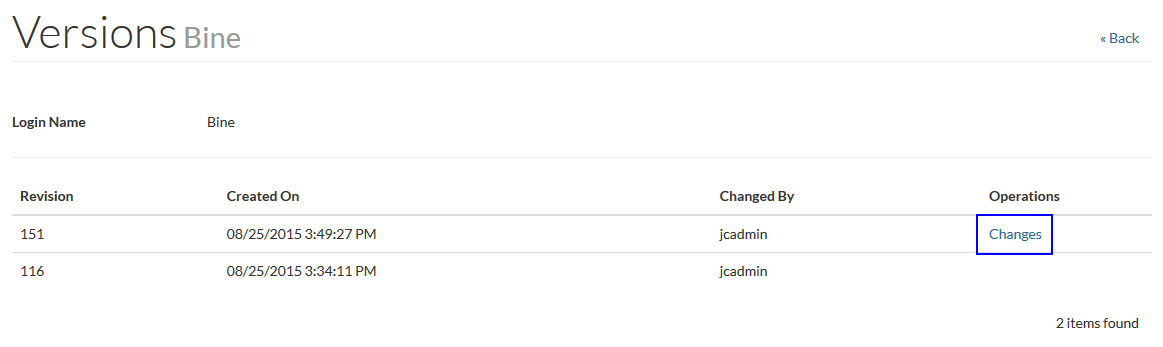
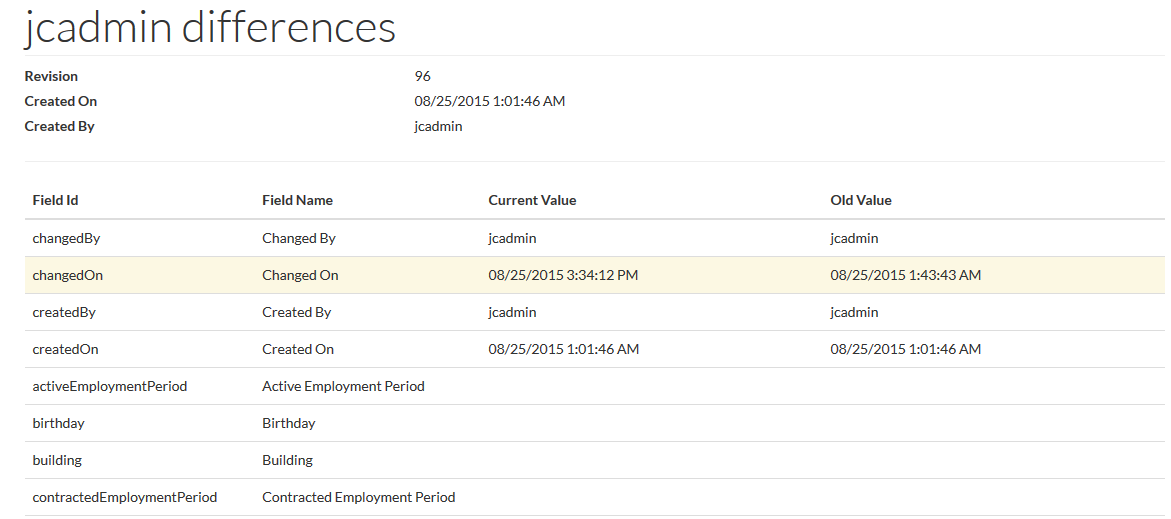
Click the Changes link to see the revision details:
Catalog User Revisions Report
You can open the Catalog User Revisions Report by clicking the Revisions Report button in the user search result table or in the user editor. See the Catalog User Revisions Report page for more details.
Send Notification
After the user is created, you can send a registration notification with the credentials for the user to log into the relevant application.
Click
Send Notifications option from the
Revisions Report drop-down menu on the Search User page by the relevant user or click the
Send Notification button in the user editor to open the Email notification page.
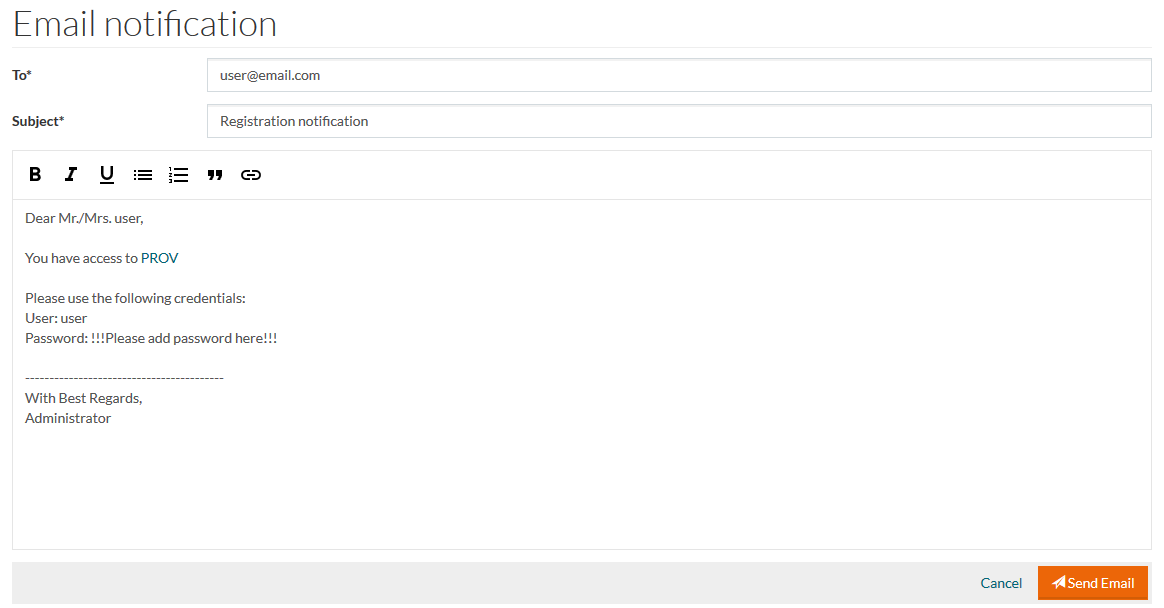
Enter the email address (unless it is provided in the user profile and is automatically prefilled) and modify the email text as may be needed. Type the valid user password after "
Password:".
You can provide a link to the relevant application using
 . Clicking the icon displays a new field to select the application and its URL (which can be edited).
Click the Send Email button to send the notification.